The Basics on Cosplaying with Foam
- Andy

- Jul 7, 2020
- 4 min read

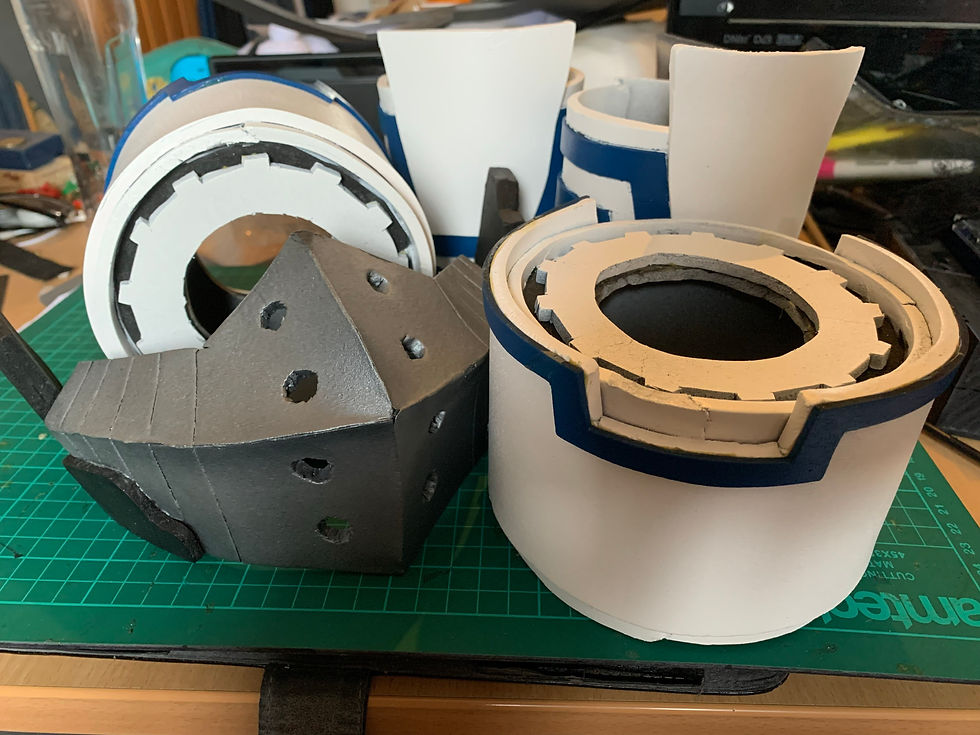
Cosplay props for Deku from My Hero Academia constructed from foam
With cosplay being a hobby for creativity, it provides many roads to express that creativity. A popular avenue people take with their cosplay is using foam to make weapons, armour and other various props. The only limit being someone’s imagination.
Foam can be a great accessory for cosplay; giving your costumes another level of detail and dedication. Here I want to provide an introductory perspective on what you need to start working with foam. How to start, what tools you’ll need and hopefully this will build a foundation that will help you go out on your own develop your own skills.
First you have to have the bare essentials when crafting with foam. You will need a range of items which will still be required at advanced levels, so it’s a worth while investment. Here’s a list below with links to where you can find them.
· Foam
· Pins
· Marker
· Heat Gun
· Primer
· Paint of your choice
Starting off you need to decide on what thickness of foam you’ll need. Your typical thickness of foam you can purchase would be 2mm, 3mm, 5mm, 8mm, and 10mm. This is also where a hobby cutting board comes in handy, as it will provide you a good sturdy base for you to do all this work on.
A good place to start would be 5mm foam, as it’s the thickness most commonly used with most armour pieces and gives decent amount of sturdiness on its own while still looking nimble.
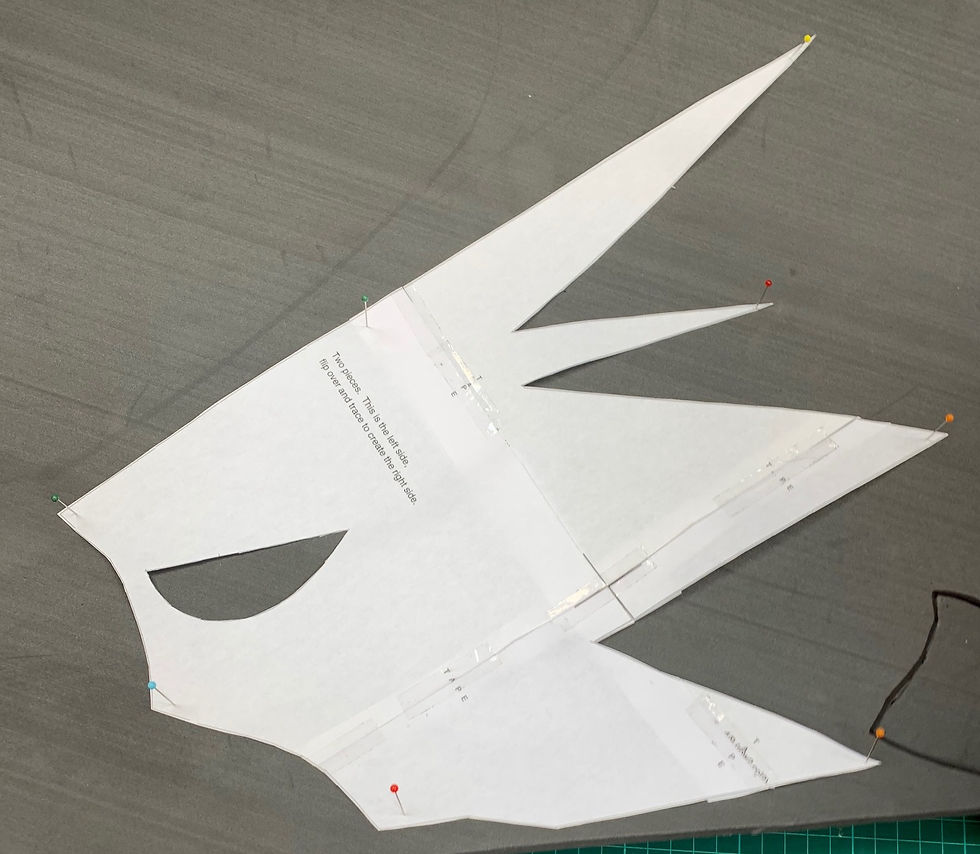
This one may seem obvious but better to cover everything. You will need marker and pins, which will be for your pattern to be placed and traced on the foam securely. For the best results makes sure to place the pins in multiple spots so the paper doesn’t move when tracing onto the foam.

Tokoyami (My Hero Academia) Head pattern as example - Cut out pattern and pin to the foam then trace the shape onto the foam
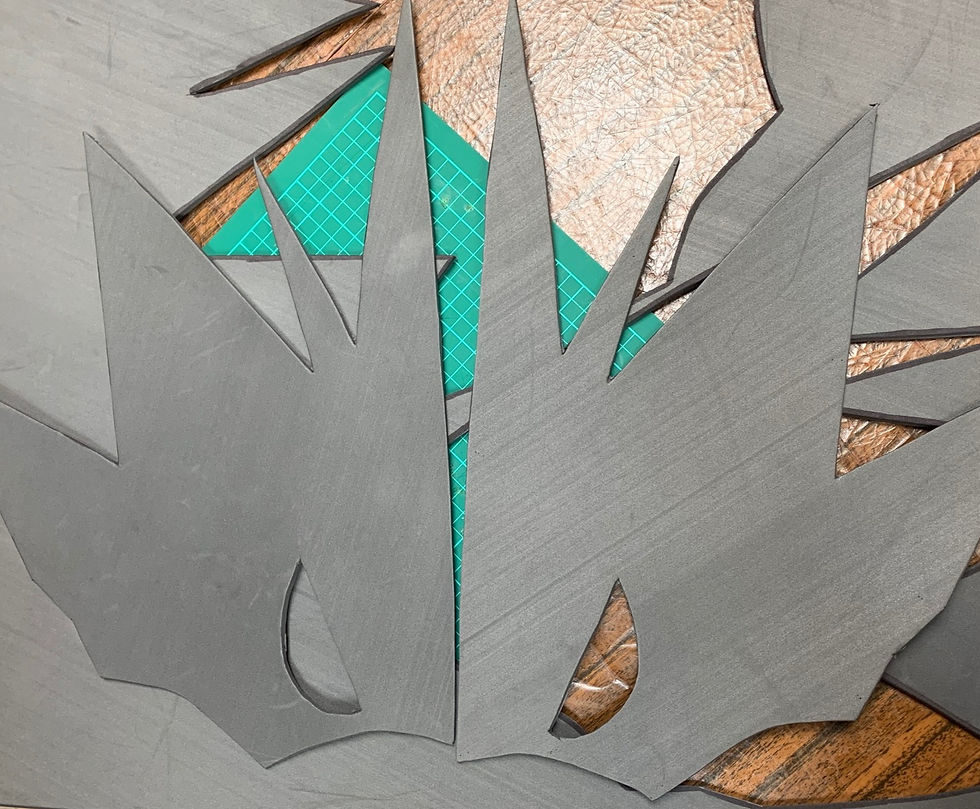
Then to cut out the shapes you need you’ll need a hobby knife. An important tip to remember is to sharpen your blade often when cutting foam, as the foam can dull the blade quickly.
Cutting out a piece of foam just so I can be clear
Once you have your shapes cut out you’ll need to heat seal your pieces. You will need a heat gun not a hair dryer as a hair dryer is simply not hot enough to get the same intended effect. A heat gun will have two purposes – allowing you to shape and mould your foam to a alternate shape and to close up the pores so that when it comes to priming, the foam doesn’t just absorb the primer like a sponge.

With the pattern cut out you proceed to use heat gun to heat seal the pieces
For gluing your pieces together, you can use a hot glue gun, which is a quick and easy way to piece your prop together. However, the durability can vary and can sometimes be unreliable. I would recommend contact cement as the go to adhesive. This is because contact cement is a much stronger adhesive and therefore creates a longer lasting bond. However, do use with caution as breathing in the fumes of contact cement can be harmful, which is why it is important that you have a respirator. Again the use of this respirator will be frequent when priming and spray painting. You should place one thin coat of contact cement on either side of the pieces you will be sticking together. After about 5-10 minutes put another thin layer over the previous layer. For the best results I would always recommended using 2-3 layers of contact cement.
Once you glued your prop together, its now time to add your primer. Primer is used to create a layer between the foam and the paint. This allows the paint to hold itself onto the surface of the foam without being absorbed and soaking the foam. When priming your prop be sure to wear your respirator and that you’re in a well ventilated area. Priming your prop should require 2 or 3 coats, with a 10-20 minute drying period between each coating. I would then wait another 24 hours before painting.

Props that have had 3 coats of primer applied and left to dry
With painting you can either spray paint or hand paint. Each has its benefits and drawbacks. Spray painting is less time consuming and can be effective when the armour piece is a solid colour. Hand painting the prop allows you to add more detail with painting by adding different shades between each layer of paint – creating shading and battle damage effects. When painting it’s best to use acrylic paint as it is quite versatile and will dry to become water resistant and durable.

Masking tape applied along with the first coat of paint
Masking tape will help you have your project have multiple solid colours as you paint, it keeps the area you want a different colour covered. Once that area is painted cover said area and paint the other desired section with the another colour. When using masking tape, place the masking tape pieces on some clothing. This reduces the strength over the adhesives and prevents the masking tape removing the paint and or primer.

Gently remove masking tape

Finished product should look something like this when painting with two different colours
I hope this guide was suitable for people who would see themselves as entry level to crafting with foam. Along with giving you an insight to the cosplays you see made of armour and the amount of time and effort that had to go into them.
I would also like to add this isn't an exact tutorial on how to build what you see in the pictures but more of an guide on how to start building props with foam. They are merely used to show what these the guide can lead you to building with the tips. If you have any questions, feel free to get in contact with me via email or through social media.


Comments